How to Put Freon in an Air Conditioner
If you intend to replace the refrigerant in your air conditioner, it’s very important that you do it correctly. Incorrectly doing so could damage the air conditioner, or cause serious injury.
Adding freon to your air conditioner is called “recharging” the unit. This will only need to be done if the unit is leaking refrigerant, as air conditioners do not use up refrigerant like a car uses up fuel or oil.
Here are the nine different ways on how to put freon in an air conditioner:
1. Learn when to recharge
If your air conditioner is low on freon, there is a leak to fix. However, if you are low on cash, it is definitely cheaper to recharge than to fix the leak, and will likely get you through one full season before you would need to recharge again. It is also not worth fixing the leak if you intend on replacing the unit within the next season or two.
2. Ask an air conditioner expert
When it comes to putting freon in an air conditioner, it’s better to ask an air conditioner repair service first who knows how to do it. While it is possible to recharge your own air conditioner, you may be concerned about your ability to properly replace the freon. In this case, you should just step aside and let the pros do the work.
Hiring professional help could ultimately save you money, and you can be sure that nobody will get injured in the process.
3. Know the signs
The sure-fire sign that the A/C needs to be recharged is that room temperature or even warm air is blowing from the unit, instead of the refreshing cool breeze you would expect. As the air conditioner continues to lose refrigerant, it will slowly become warmer. Once you’re able to confirm that this is the issue, you can move ahead with the recharge. Do not recharge the unit unless it is necessary.
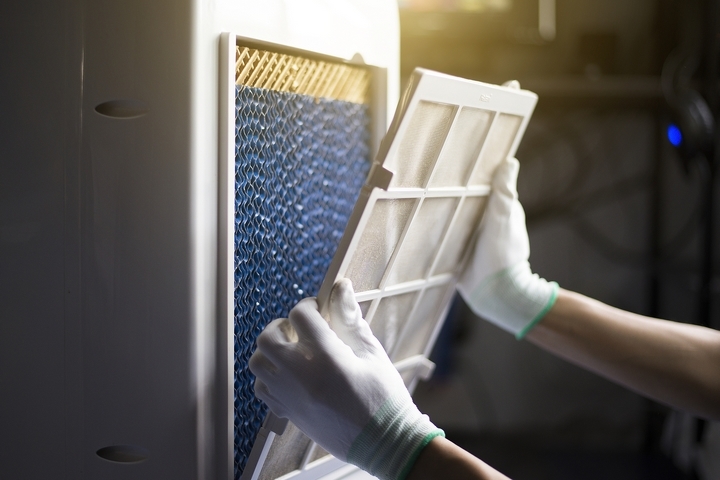
4. Clean
Before beginning, disassemble the unit and clean it out. You will want to make sure that you are not working with a dirty air conditioner. Your unit should always be kept clean, having undergone a yearly tune-up and cleaning, and regular filter changes.
However, even if these have been kept up to date, make sure the inside of the unit has been cleaned once again before starting the recharge.
5. Collect the necessities
There are several pieces of equipment that are necessary when recharging the unit. Most importantly is to have adequate personal protective equipment. Freon is toxic, and can be damaging to your skin, eyes, and lungs.
You need protective eye gear, gloves, and a mask that filters the air, like an N95 mask. Ensure your gloves are long, so they cover at least up to your forearms, and consider wearing a long-sleeved shirt for extra protection. Next, you’ll need the refrigerant and an electronic leak detector.
6. Choose the refrigerant
There are different types of refrigerant, but they are not interchangeable. You need to select the refrigerant that goes with your unit, which you will be able to locate in the owner’s manual provided by the manufacturer. Most frequently, your unit will require R-22, or Freon refrigerant if it is older.
If this is the case, it is best to contact a professional to fix the leak and look over the unit. This is because R-22 is actually very bad for the ozone, and is slowly being phased out of use. It is therefore fairly expensive to purchase, as it is more difficult to acquire.
7. Prepare the unit
In order to prepare the unit for the refrigerant, you need to turn it off at its source, this means flicking the breaker or the power source that feeds it right off. Then, you need to connect the refrigerant gauges to valve connections on the unit. There are two valves: a low-pressure valve and a high-pressure valve.
The blue hose will connect to the low-pressure valve, and the red hose will connect to the high-pressure valve. For the time being, the centre valve will remain free. Next, you have to turn the unit back on for about 15 minutes. This ensures that the readings are correct.
8. Connect the refrigerant
Now it’s time to connect the middle hose, which is yellow. Connect the other end of the hose to the canister of refrigerant. Then you can twist the knob on the canister to release the refrigerant.
9. Time to recharge
You’re going to be using the left-hand valve with the blue hose. This is the low-pressure valve. Open the valve for just a few seconds and then close it again. Do this several time. This ensures that the refrigerant fills the unit just a little at a time, and allows you to reach the correct temperature. Watch the gauge until it is at the correct temperature.
Once this is complete, you can disconnect the gauges, and perform an electronic leak test with the electronic leak detector. This tool helps to ensure the safe running of the unit.