How to Thaw Out Frozen Pipes in the Winter
We all know of ways to prevent frozen pipes, such as keeping the thermostat set at the correct temperature all day and all night, and running a little bit of water through the pipe at a trickle. What happens if your pipes are already frozen? You will need to learn how to thaw out frozen pipes, especially during the winter.
When the temperature is too cold and the frozen pipes need to be thawed out, you may be wondering how to begin the process. Below is a guide on how to thaw out frozen pipes without damaging them:
1. Thaw out the frozen pipes immediately.
Time is of the essence when you want to thaw out frozen pipes in the winter. If you see you have frozen pipes, do not panic. There are ways to fix it! While there’s no reason to rush, time matters. If left unfixed, it could create more damage and the cost of repairs could increase significantly.
We don’t generally recommend letting a frozen pipe thaw on its own. A controlled heating is an easy way to manage what’s happening. Letting a pipe thaw on its own time, you don’t know when it could burst or what could happen.
2. Inspect the frozen pipes

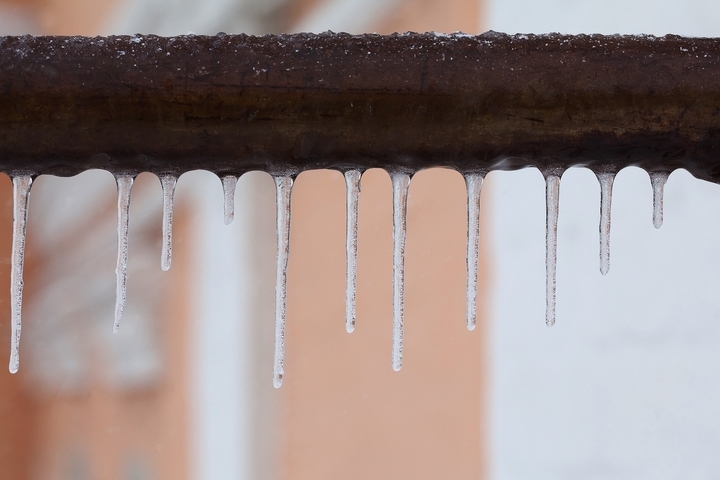
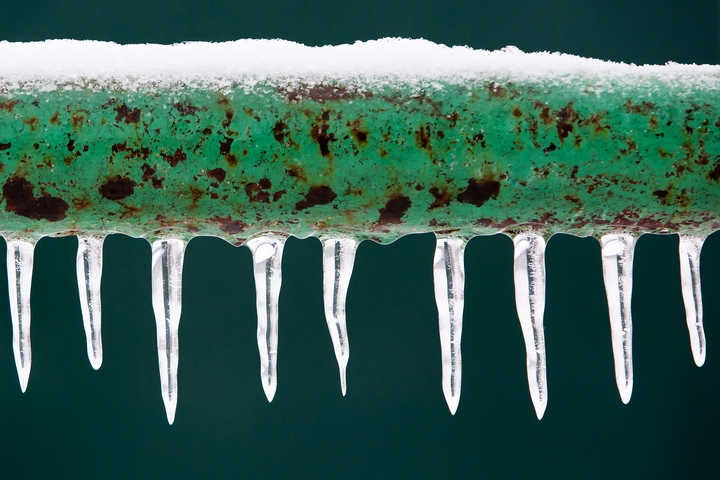
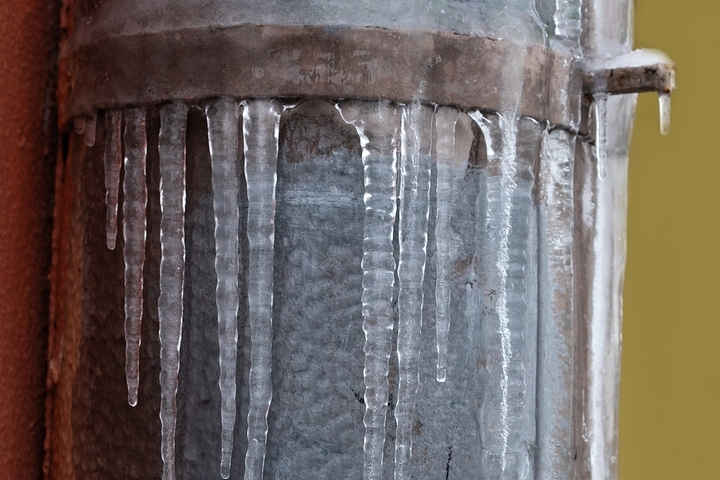
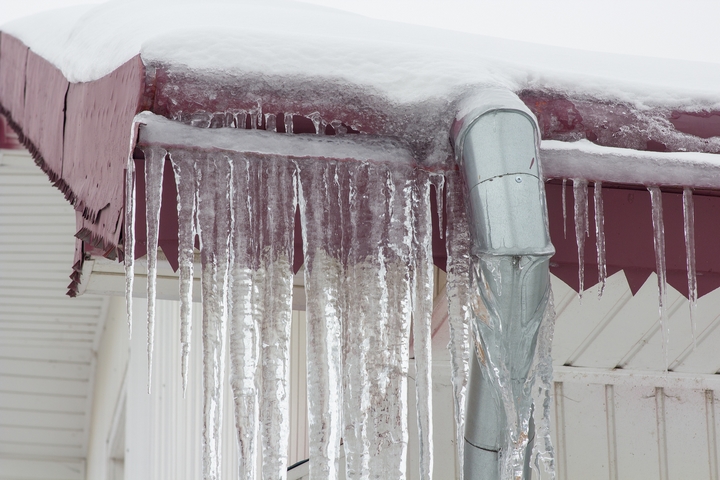
Unfortunately, we don’t see all our plumbing pipes. For the ones that we do, if you notice frost coating the outside or like the pipe is bulging, it’s safe to say you have frozen pipes on hand. Subsequently, if your faucets aren’t flowing and toilets aren’t refilling after a flush, this confirms it.
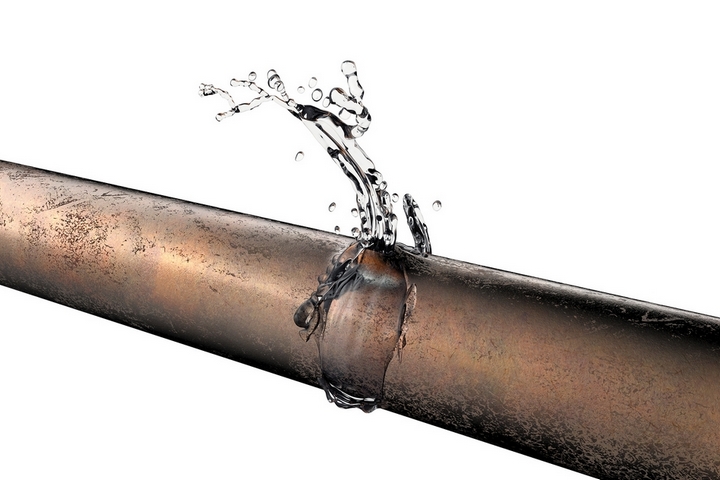
A common question asked is how do you know if the frozen are at risk of bursting? Freezing pipes aren’t definitely going to burst but some do. This happens because when water freezes, it expands. Without any space in a pipe to expand to, the only recourse for the pipe is bursting. Plumbing pipes aren’t manufactured to withstand this sort of pressure.
If the resulting pressure causes a leak at a joint or crack in the length, this is what can cause a lot of water to suddenly come flowing into your home. This water damage is what we want to avoid, which is why you need to thaw out the frozen pipes before the bursting happens.
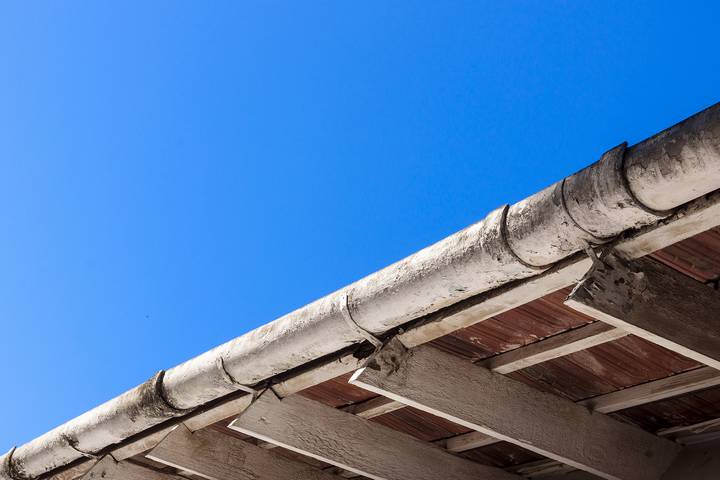
3. Locate the frozen pipes
Frozen pipes are usually found in an outside wall, under the sink, and in unheated crawl spaces though they can exist anywhere. As it pertains to these unheated areas, this is why we insulate pipes.
Before the freeze happens, buy pipe sleeves and insulate any pipes in unheated areas. Attics, basements, crawl spaces, garages, under the kitchen cabinet, and under the bathroom cabinet all could have pipes at risk of freezing.
4. Shut off the water
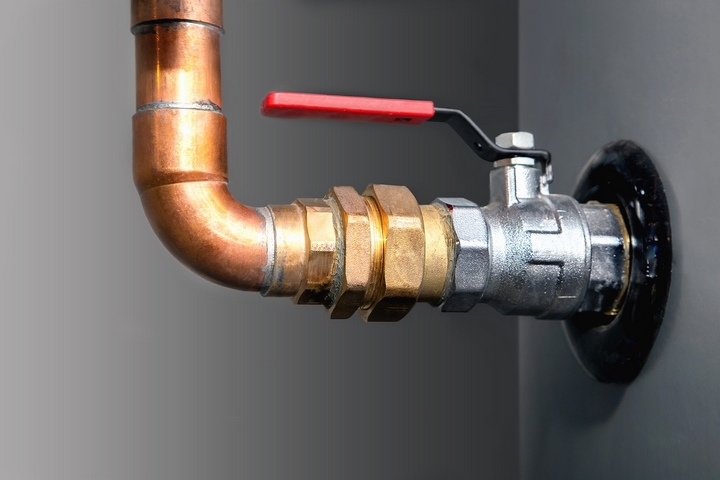
In order to thaw out frozen pipes, shut off the water supply to your plumbing. The trouble with thawing frozen pipes is that frozen water can be acting as a plug. There’s no way of knowing. You could have water ready to spill out as soon as your pipe begins to clear.
For this same reason, you want to have a mop, some towels, and a bucket on hand. Be ready for the worst because as your frozen pipes thaw, the worst could very well happen.
5. Turn on water faucets
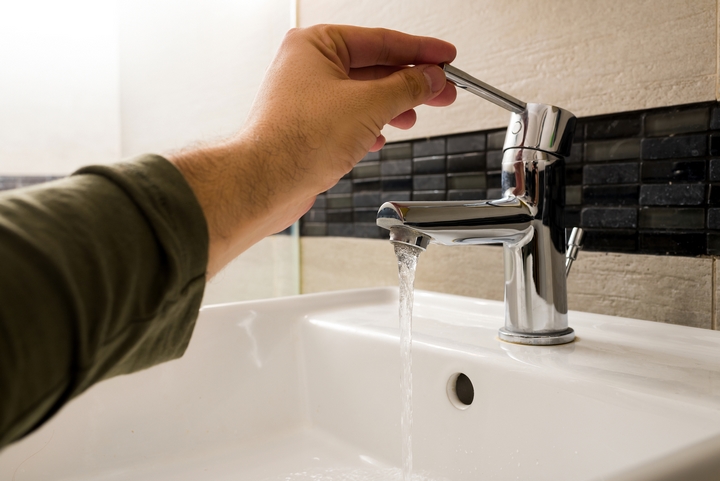
As the frozen pipes start to thaw out, turn on your faucets. Within thirty minutes, they should start leaking water. This will help melt the ice and move water through. All in all, this speeds up the thawing process in the safest way possible.
6. Thaw out frozen pipes
In order to thaw out frozen pipes, you’ve got to go slow. Use a space heater, heat lamp, or even a hair dryer to thaw the frozen length of the pipe. Another effective – though slightly more expensive way to thaw pipes – is to use thermostatically controlled heat tape.
Wrap the freezing pipe with tape and any troubling spots should slowly turn from ice to water. Please note, never use any propane torches or anything related to fire. This won’t work and is a fire hazard.
7. Repair burst frozen pipes
Let’s say your frozen pipes burst. This is worst case scenario but don’t panic. Your pipes have already burst and now it’s all about minimizing the damage. The first step is to turn off the water supply. This will minimize flooding.
Next on the list is to call a plumber in your nearby area. While you’re waiting on a plumber to come by, remove as much water as possible. Use mops, sponges, towels, and vacuums. This is done to prevent mold, mildew, and any moisture issues that could amount. Running a dehumidifier in the space until it is very, very dry is also recommended.
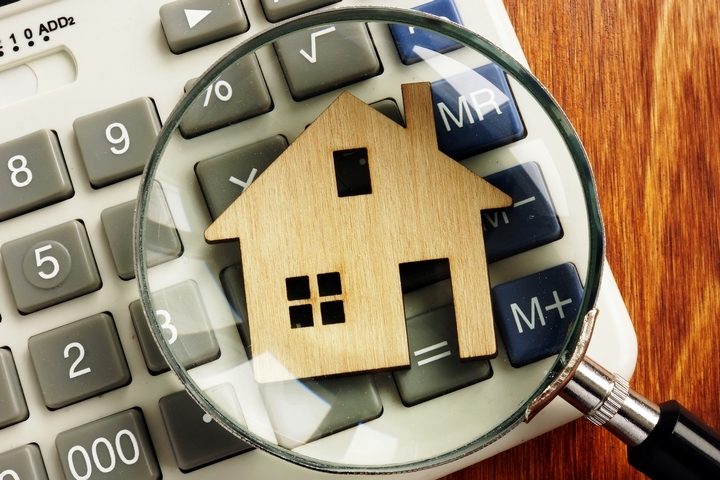
8. Check home insurance
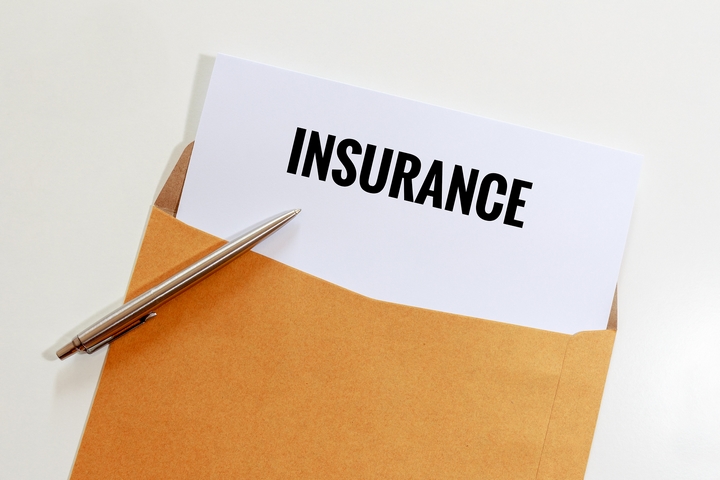
If you have a lot of water damage, thankfully, most homeowners insurance policies cover burst pipes. There aren’t any guarantees of course but it is worth calling your insurance agent to determine whether there’s any coverage there.
You could incur enough water damage to amount to $5,000 to $70,000 in needed repairs. If you have homeowners insurance, you could dodge a major bullet in repair expenses.