How to Fix A Dent in the Wall

A dent in the wall can happen for several reasons. Sometimes it’s an accident, and sometimes it could be a home remodelling project gone wrong. Luckily, a dent in the wall is something we don’t have to fret about. These days, there is always a solution for everything, including tips for trying to fix that dent on your own.
A dent is defined as a gouge in your wall just on the surface. It is not a scratch mark because this gouge leaves an actual cavity in your wall. A dent means that the damage does not penetrate deep into the wall’s recesses and requires major repair work. However, some repairs are still in order because of the cavity left behind on your wall.
Before you grab your toolkit, there’s something you need to do first. You will need to assess the extent of the damage you’re looking at. If it is a simple dent that is easy enough to fix because it’s small, it’s an easy DIY project. However, your best bet is to leave it to the experts for anything that involves a major repair.
No one likes to look at a hole in their walls, even a small one. When you have established that what you’re dealing with is, in fact, a dent and not a scratch mark, you can begin the appropriate repair work. How you would repair a scratch is different from what you would do with a dent in your wall. A dent will also require more work to fix than a surface scratch.
1. Repairing a dent is a quick and easy fix.

If the dent you’re working with is small and nothing too serious, fixing the dent is easy enough. All you will need are the right tools and material to get started and patience.
Some of the tools you will need include sandpaper, a utility knife, waterproof primer, a paintbrush, a dust mask, a joint compound, a putty knife, and some paint. You may also need metal corner guards, which can be installed after the wall dents are fixed.
2. Prep your repair area.

The first thing you need to do is prepare your repair area. The area should be prepared so you can have a quick and easy cleanup once the repair has been done. Before anything else, clear the area around the wall space you plan to fix. Ensure all the furniture has been moved and the area is clear of debris.
Next, lay some newspapers down on the floor. This makes it easier to clean up the dust and debris that might ensue, especially when you’re working with sandpaper. Drop cloths work just as well, too, if you prefer to use those instead of newspapers. Finally, secure everything down by taping them to the floor so nothing moves around while you’re working.
3. Your next step is to score
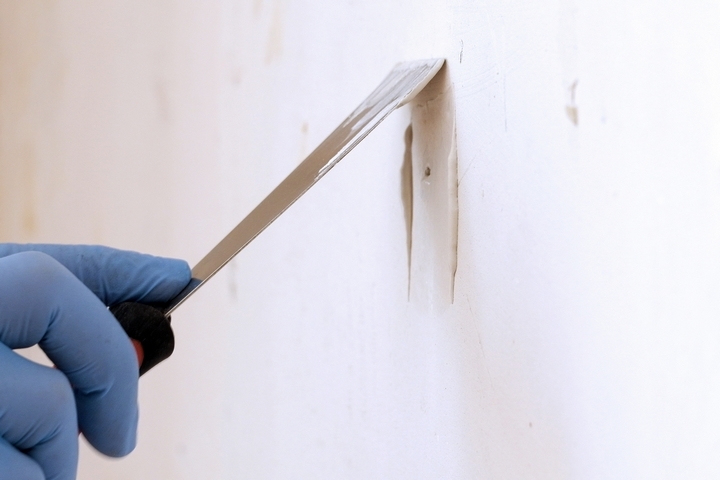
Scoring is a technique that you are going to use. What you will need is your utility knife. With the knife, you will walk gently around the area where the dent in your wall is. This technique is called scoring. You’ll want to cut just an inch away from the dent and carefully remove the piece. Do this slowly so you don’t accidentally cut off too much.
4. Sand down the walls.
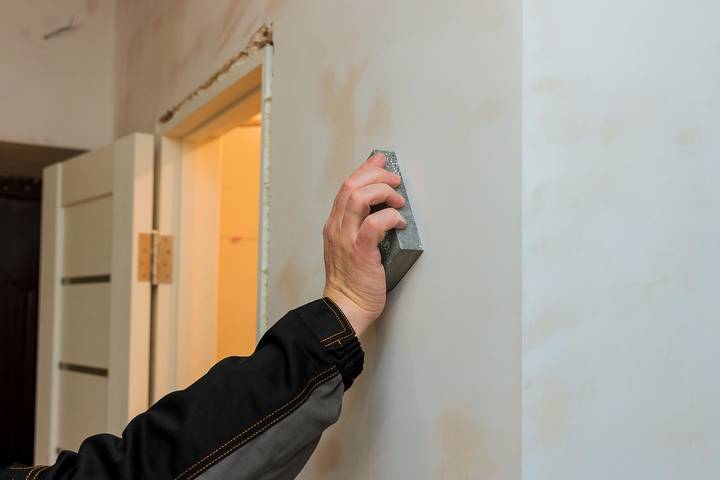
Once you’ve scored the area, the next step is to sand it down. Use your sandpaper and begin sanding away at the edges surrounding the area you just cut. This will give you much better surface adherence to work with when you begin the next step.
5. Prime your area on the walls.
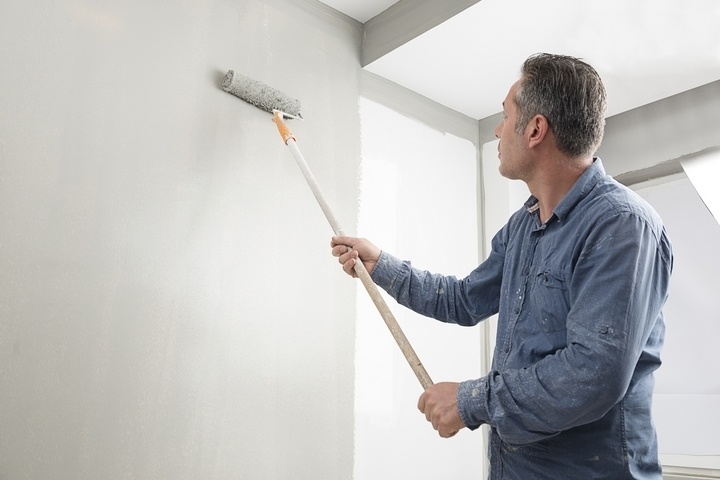
Get your paintbrush and primer once you’ve finished with the sandpaper. Applying the primer works as a coat to seal the drywall area you’re working on. Only apply primer on the dented spot. You don’t need to do your entire wall.
6. Put on the compound.
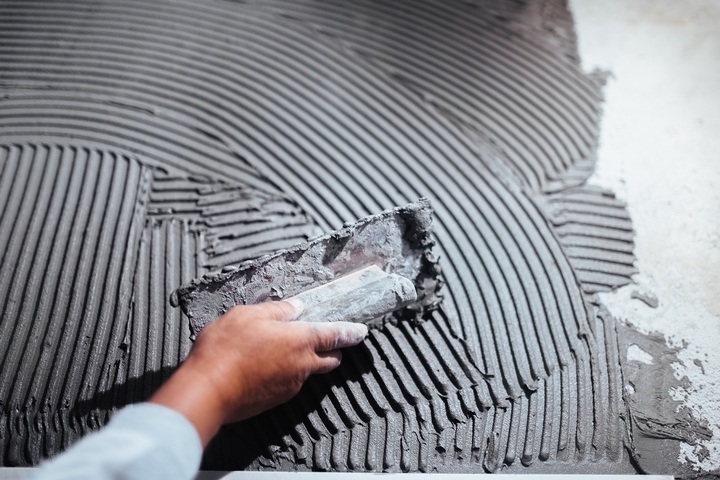
After the area has been primed, it’s time to apply your compound. To do this, your putty knife is going to work best. Scoop a small amount of joint compound on your putty knife, just enough to fill in the dent. Use your putty knife to blend it with the rest of the wall, and then let it dry. Once the area is dry, you will need to sand it again one final time until everything is a smooth surface.
7. Apply the final paint touch

The final touch is to get your wall looking as good as new. Apply primer once again and when that is dry, go in with your paintbrush and paint to finish it off. Ideally, you’ll want to get the paint the same colour as your existing wall so the finished effect looks seamless.
And there you have it. Your wall looks as good as new again.


