How to Lacquer a Guitar Body

Guitars are among the most popular instruments to play, and for good reason: they are easy to learn, sound amazing, and look awesome. There are so many different body designs and even more incredible colour patterns and artwork, and while a new guitar fresh out of the shop is in pristine condition, steady practicing and gigging can take a toll on the finish.
Some of the guitar legends have vintage axes that show their age, and it is pretty cool to see what hard playing can do to an instrument, but if you are looking to restore your guitar to its original lustre, it will be like a new instrument for a fraction of the cost.
Not sure how to go about refinishing your instrument? This is how to lacquer a guitar body.
1. Understand The Process
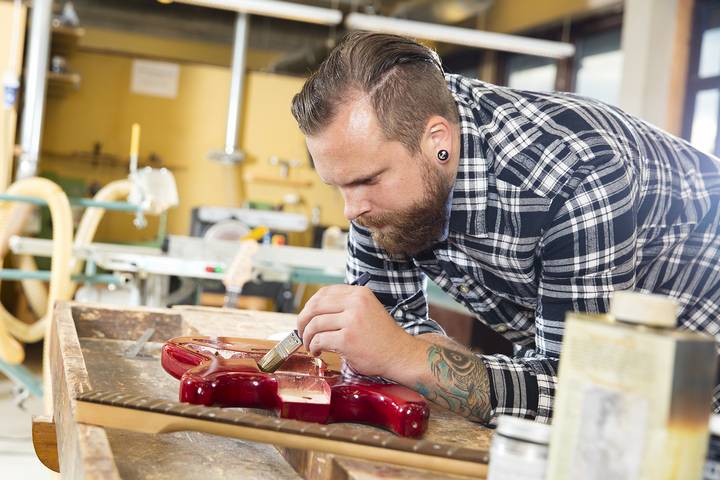
Refinishing your guitar sounds great, unlike painting a regular piece of wood. It is a lengthy process, and you must be prepared for it. Ensure you have the time, desire, tools and skill set to do it before you start; otherwise, you’ll end up with a guitar in pieces someone else will have to finish.
Equipment needed include:
- Sanding paper – coarse, medium and fine grit
- Orbital sander
- Vacuum
- Mineral spirits
- Cloths and rags
- White primer\spray gun
- Spray cans
- Clear colour coats
- Lacquer
- Protective glasses
- Dust mask
- Screwdrivers
- Allen keys
- Soldering iron
- Masking tape
You can watch how-to videos on YouTube and follow along, but it does take skills, and those in the business are experts in their field. Take your time, and you can get there.
2. Disassemble The Guitar
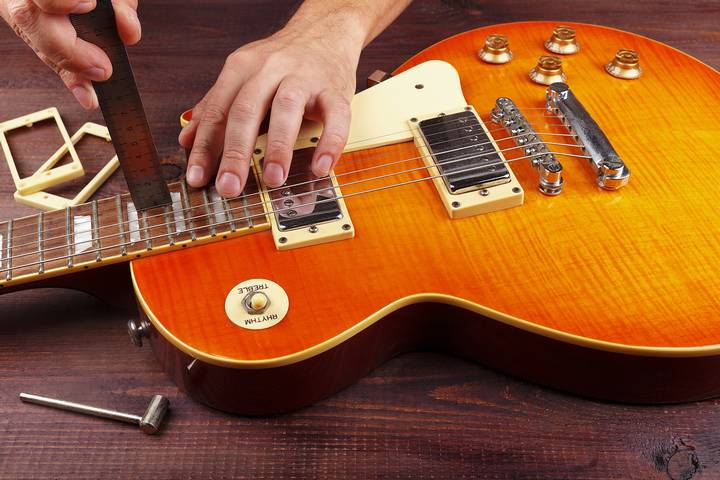
Disconnect it from the other components to fully access the guitar body. Start by taking off the strings and then remove the neck. There should only be a few screws or bolts holding it in place, but if it is glued on, then you will have to repaint it along with the body.
From there, take off the attached hardware like the bridge, strap buttons, knobs, pickguard, pickups and output jack.
Keep everything organized and inspect them for any damage or wear; now is the perfect time to replace any needed parts.
3. Sanding
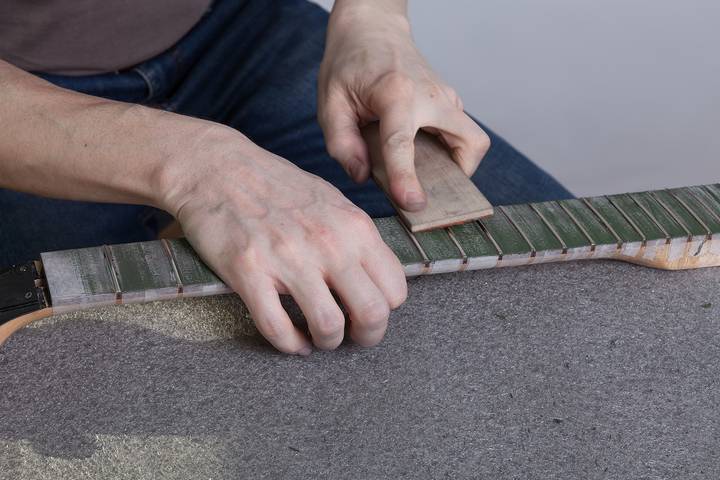
Now, it is time to remove the old finish on the guitar. This will take some elbow grease, but you can start on the large areas with an orbital sander and work the hard areas and edges by hand. Work down from coarse to fine sandpaper for a smooth finish to repaint and lacquer.
4. Filling
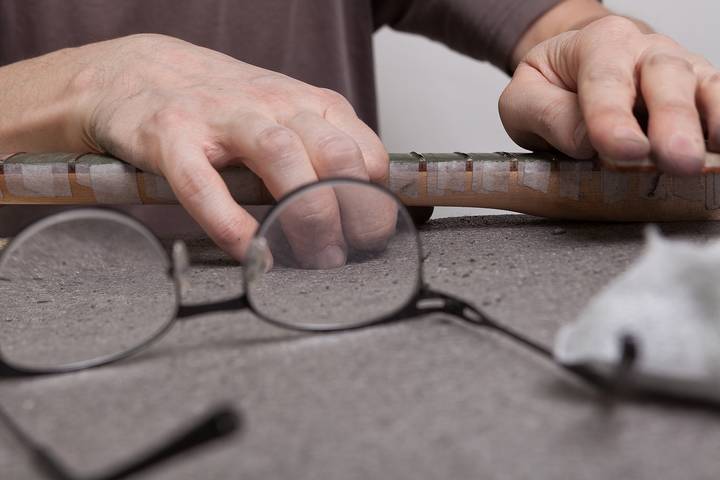
Sometimes, there are dents, scratches or other imperfections that you want to repair, and a good grain filler will do the job. Use an oil or water-based filler that will match the final colour to make coverage easier. If you want the distressed look, skip this part.
5. Put On Mineral Spirits
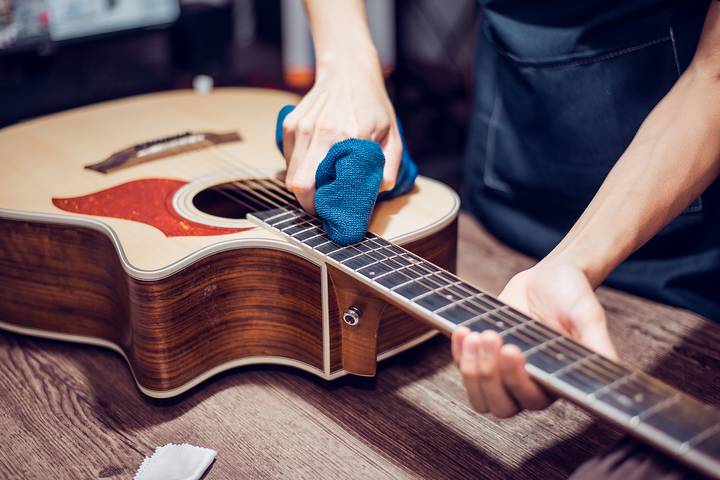
Mineral spirits are designed to remove any oils left on the wood. This is usually from your hands and can affect the finish if not removed. Apply the mineral spirits and let dry before you touch the guitar again.
6. Painting
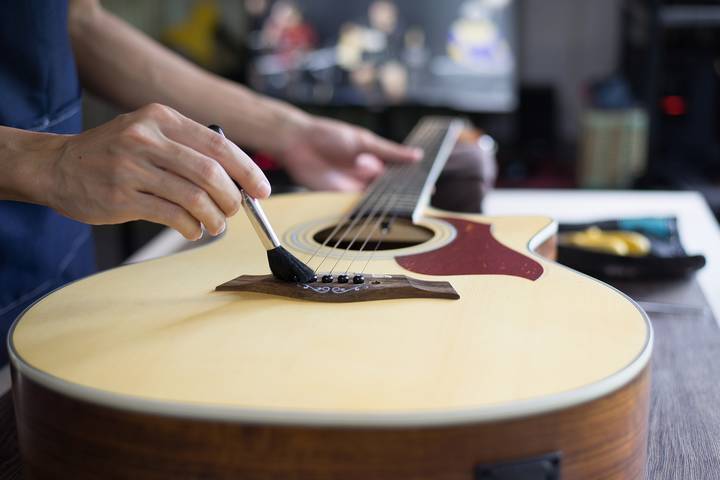
This is where the rubber meets the road, and choosing your colour, or lack thereof, is a tough choice. If you have a vintage or expensive instrument, you may want to recreate the original colour and finish, but there are no hard and fast rules; you do you.
If you go for a solid colour, it should be a durable paint with nitrocellulose or polyurethane. A stained finish should be water- or oil-based and then finished with multiple coats of clear coat.
In the early days, guitars were coated in nitrocellulose lacquer, a long process with 6-12 coats. Later in the 70s, the switch was to polyester finishes, and they went on thicker, so adjustments had to be made with fewer coats to maintain the same sound.
Applying nitrocellulose lacquer gives you a well-crafted, vintage look and feel, so it is probably your best bet. The application goes something like this:
- Start your first coat as a light misting or tack coat, allowing it to set for 45 minutes.
- Apply a second wet coat.
- After it is dried, continue to apply even coats, ensuring that it does not run or sag in any areas. If you get that, allow it to dry for 24 hours and sand the problem area.
- Continue for up to 12 coats for a great finish, allowing several hours between each coat.
To get a glassy finish, you can sand between coats and even “wet sand’ and buff it like glass at the end.
7. Reinstall All Hardware And Components
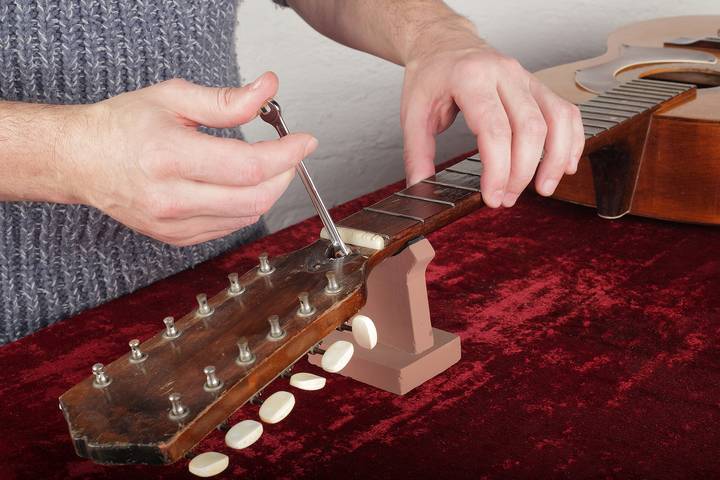
Now, going in reverse, put your axe back together meticulously and take a moment to bask in the glory of what you have done.
It is a great achievement to lacquer your guitar, so hats off. If this process is a little above your pay grade, find a reputable shop to do it for you and appreciate the craftsmanship that goes into it. Then, once your guitar is done, play it with wild abandon and wear it down over time again.


