How to Plumb a Double Sink

Double sinks are a lifesaver because, with them, you’ll not be compelled to squeeze your kitchen essentials into a single space. Many people stick to the single sink because of how complicated plumbing a double one could be. It’s not as hard as it sounds when you have the right skills and tools.
If you want to plumb a double sink for the first time or upgrade from a single one, this blog is all you need. By following the steps, you’ll have successfully installed your double sink without struggle. While doing it yourself is good, you can always consider the services of a professional plumber whenever you need help.
Below is a breakdown of how the procedure goes alongside what supplies to acquire.
Supplies Needed
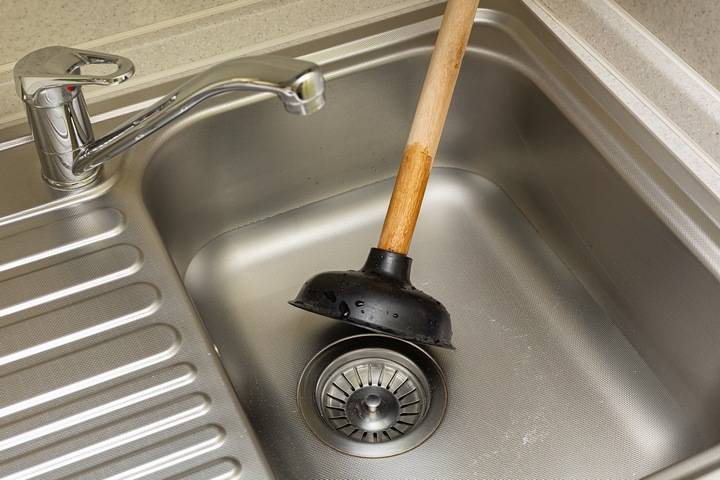
Plumbing generally requires plenty of supplies. Below are the main ones for a double sink.
- The double sink, faucet, kitchen drain trap, sink drain, PVC pipe, strainer assembly, and washers.
- Teflon tape, sanitary tee, plumber’s putty, and compression nuts.
- Screwdriver, caulking gun, marker, and channel locks.
- PVC pipe cutter, hacksaw, and tape measure.
With these supplies, you can plumb a double sink in your home, office, or school kitchen. If you lack the equipment, consider hiring a professional plumber for help instead.
Prepare the Area
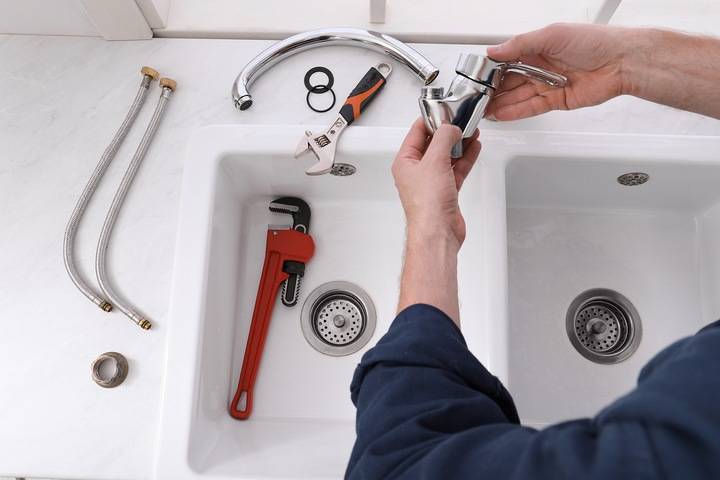
The first step of plumbing a double sink is preparing the work area. Depending on the size of the double sink you’ve purchased, you should free up enough space to host a double sink. Assuming you’ve also bought the above supplies, you should bring them closer in preparation for the plumbing.
Measure the required dimensions and list them for reference when you start. The preparation stage also involves wearing protective gear like aprons, gloves, coats, and others you prefer.
Shut Off the Main Valve
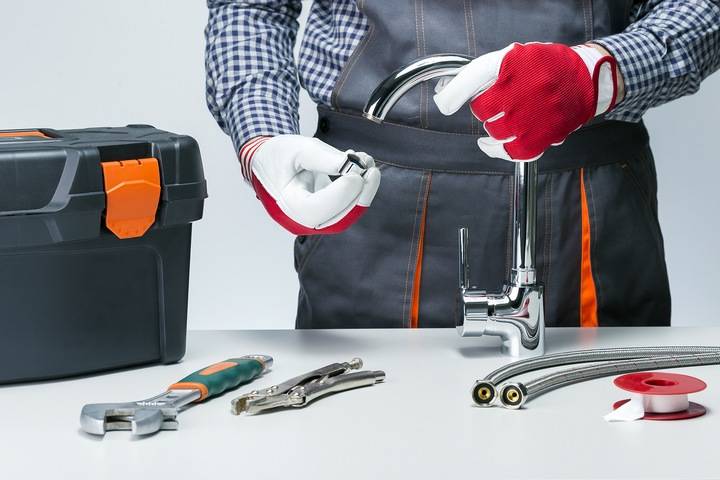
The next step in plumbing a double sink is shutting off the main valve. This vital step seeks to cut any water supply to the sink area as you prepare to install the double sink. After shutting off, proceed to drain any excess water from the sink. You can proceed with the third step when the area is completely dry.
Position the Double Sink and Fasten It
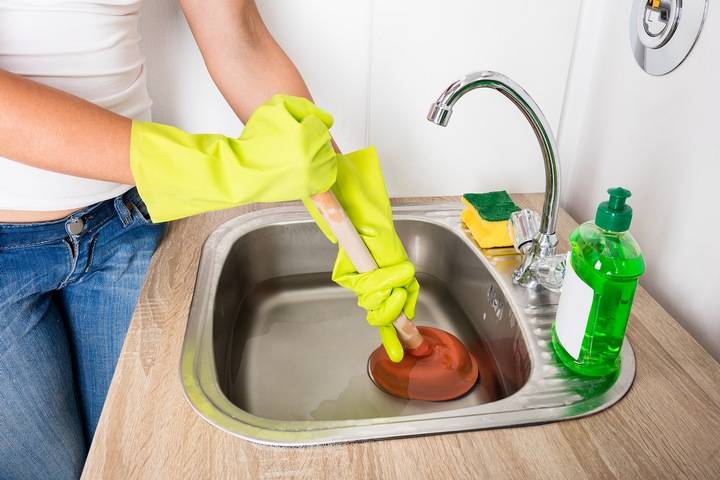
It’s now time to put the sink in position. Depending on your double sink style, apply caulk or plumber’s putty around the edges before placing the sink. For drop-in sinks, which are the most common, you should gently position the sink, ensuring its edges settle on the counter.
Some of these sinks come with clips that secure them on top and bottom of the countertop. However, that’s not all because you should still fasten the sink further with a screwdriver, ensuring it doesn’t ‘dance’ or feel loose. Heavy-duty clips, caulk, and adhesive should come in handy in securing the sink adequately.
Install the Tailpiece
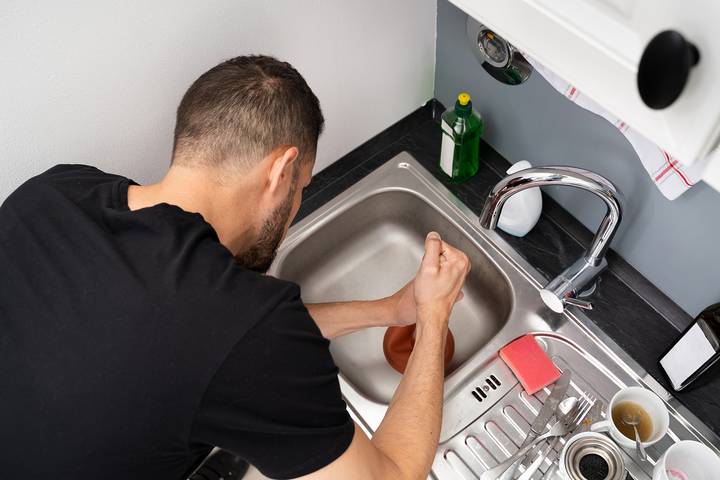
The tailpiece is the next item on board. This is the part at the sink’s base, usually connecting to the drain fitting, carrying water that drains into the sink from the faucets to the drainage.
Some sinks may have a separate garbage disposal unit, while others only have the tailpiece, leaving users to invent different ways of filtering debris. The tailpiece is easy to install as you can quickly fix it with your hand or special pliers.
Link the Sanitary Tee
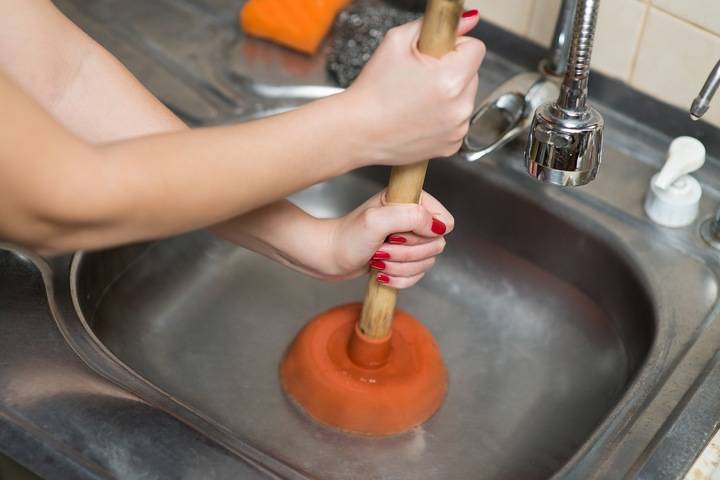
When you have the tailpiece in place, you can attach the sanitary tee to it with a plastic compression nut, which can be secured with your hands. Other plumbers recommend compression washers, guaranteeing the tailpiece and tee are firmly secured.
You can choose to have a sanitary tee for each sink (if you have two tail pieces) or join them at the center of both sinks. If you consider a single tee for each sink, repeat the above procedure for both sides.
Incorporate the Drain Trap

After the sanitary tee(s), you should continue to add the drain trap, which is the U or J-shaped portion. It is connected to the sanitary tee, while the other end links to the adjacent drainage line.
Both connections should be tightly secured with compression nuts and the sanitary tee to ensure good performance and longevity. However, the nuts are slip-ons, making them easy to remove in case of repair or clogs.
Link the Hot and Cold Water Lines
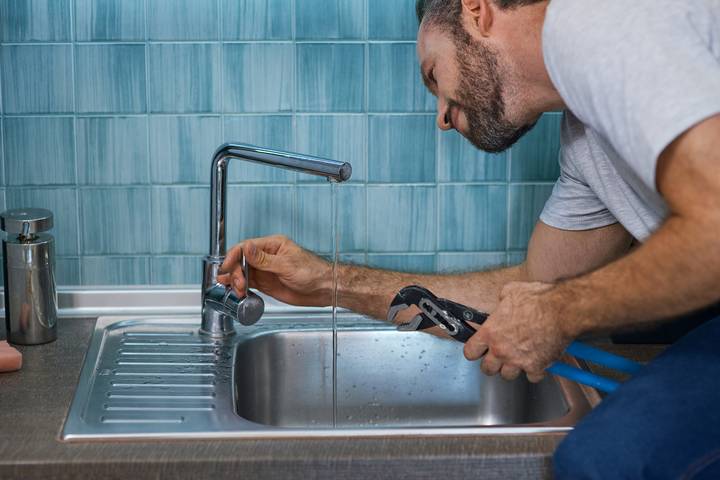
Double sink faucets usually have lines for hot and cold water, even though they are controlled with a single handle. You can mount it by threading hot and cold water lines below through the countertop alongside the mounting bracket.
Ensure the nuts above the sink counter are tightened, ascertaining they move as required. Now, link the water lines (hot and cold) to their respective pipes and secure them accordingly.
Test and Clean the Area
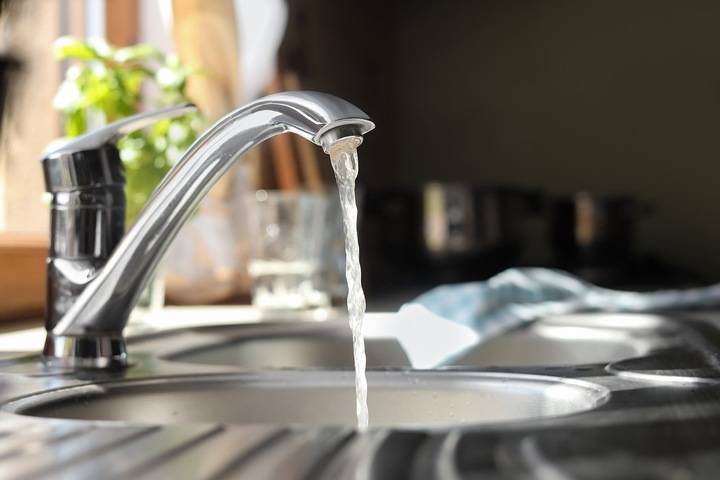
The last step of plumbing a double sink is testing for leaks and general functionality. After everything is in place, you can open the faucet to release water into the sink. Sometimes, air trapped within the system during plumbing may come out before the water, and it’s nothing alarming.
As the water runs, keenly observe any leaks across the sink, including the essentials below the countertop. You should also observe the water flow, colour, ease of operation, and anything else that comes to mind.


