How to Use a Paint Roller: 7 Tips and Tricks

Painting a large surface can be daunting, especially if you don’t have the right tools. Thankfully, it’s easy to get your hands on exactly what you need to do the job efficiently, professionally, and free from frustration. There are professional painters who can help with the job, although you may try to do the painting yourself for smaller projects.
Depending on the type of paint job you’ve got ahead of you, you might need a few different instruments to make the task easier, but chances are that if you’re covering any kind of extended surface – a paint roller will be one of them.
Here are a few tips on how to use a paint roller like a pro and end up with a great looking paint job:
Tip #1: Why you should use a paint roller
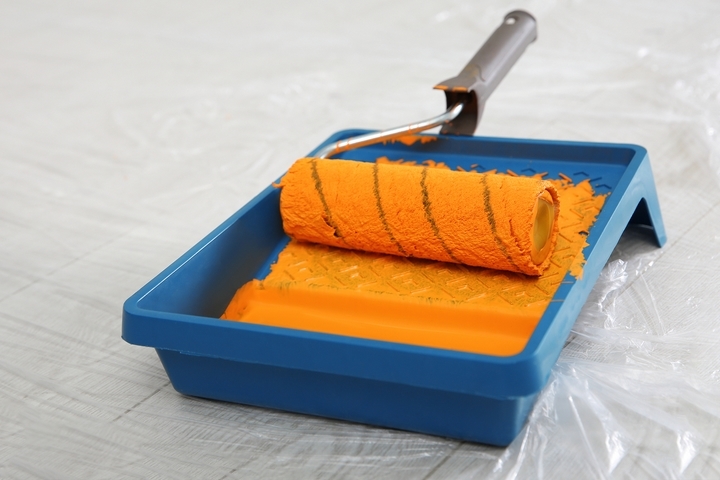
Using a paint roller not only makes the job go a heck of a lot faster, but it also gives you a more even finish. With the help of an elongated handle, the roller will ensure you can access even hard-to-reach areas. Available in a whole range of sizes and materials, once you’ve got the basic rolling tool, you can get all sorts of different covers to suit the job at hand.
If you’ve got some painting to do and want the application to go smoothly, leaving you with the satisfaction of a job well done – then grab your paint roller and read on.
Tip #2: Assemble all the paint supplies you need
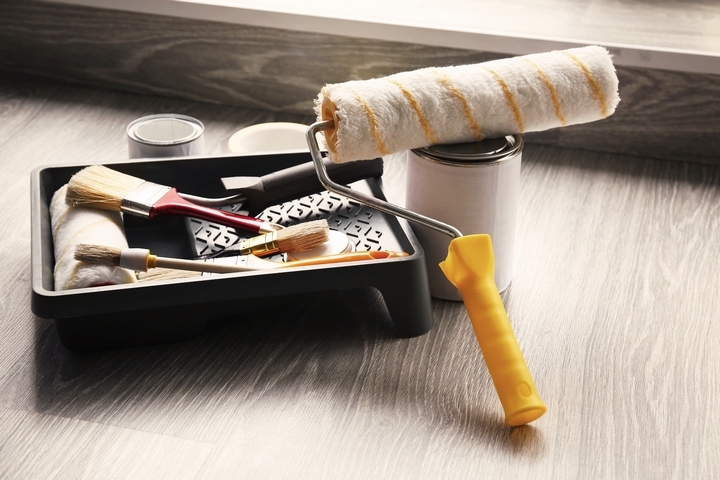
Another tip on how to use a paint roller is to prepare all the materials you’re going to need from start to finish. First of all, you need to prepare the room, rearranging or removing furniture that is in the way, tapping up the trim and laying down a protective cover to shield floors or carpets.
Also, you don’t want any streaks or drip marks resulting from the fact that you had to abandon your project mid-way through, so make sure you have all the actual painting supplies at the ready. You’ll need: a roller, roller tray, extender, and, of course, your paint colour of choice.
Tip #3: Pick the right paint rollers
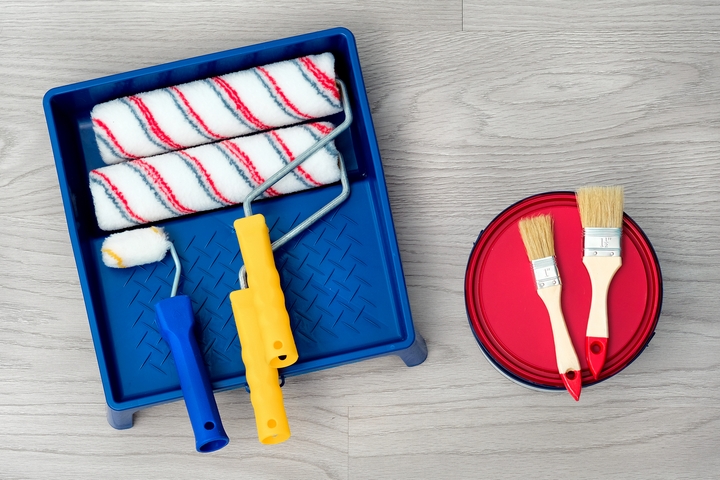
In addition to approaching your job with the right technique, it is important to pick an appropriate roller for what you’re hoping to accomplish. Split into three basic categories, short, medium, and long pile, the kind you’ll need depends both on the surface you’ll be painting and the type of paint you’re planning to use.
Short pile is best for smooth walls and flat surfaces and medium pile is ideal for lightly textured walls and ceilings, although it can still be used on walls. Keep in mind that medium pile will hold on to a good deal more paint than a short pile roller, so if you’ve got a big room to do, you should opt for medium. Long pile, meanwhile, is intended to take on walls that are heavily textured, like concrete.
Tip #4: Use foam paint rollers
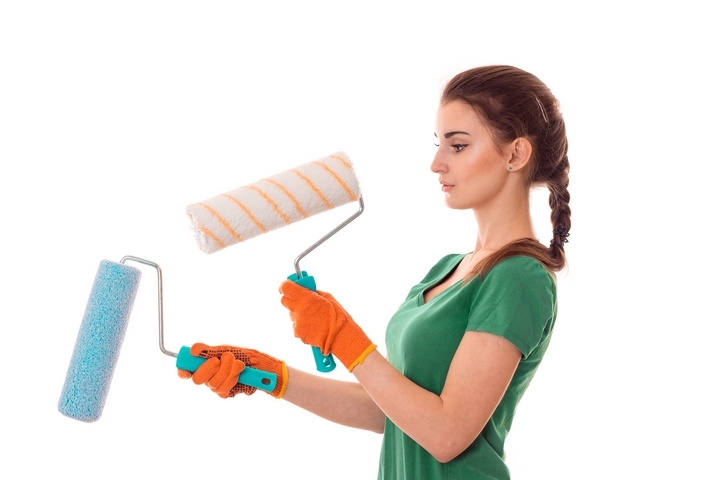
Generally speaking, foam rollers are most effective with gloss or varnish. Radiator rollers, as the name suggests, are intended for radiators and other tricky areas that demand a bit of maneuvering in order to access. It is easy to use a foam paint roller for certain types of projects.
Tip #5: Take a paintbrush to the edges first
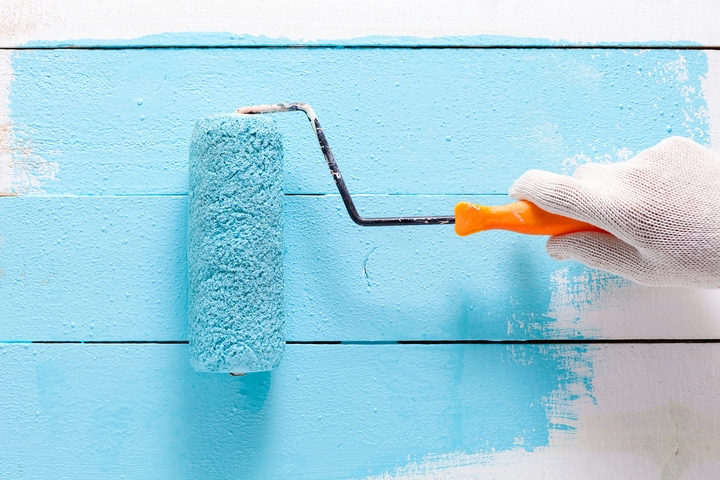
Before taking your roller to the wall, prepare yourself a nice, blank windowed patch by doing some work with a brush beforehand. A roller isn’t going to serve you very well when it comes to navigating intricate corners, so before getting your roller out – use a paintbrush to take care of any edges of around your wall, baseboards and ceiling.
While you’re doing this, you can prepare your roller for use by removing any excess fuzz. To do this, just dip in water and set it out to dry. This will help you eliminate any extra fuzz that was caught on the roller, so it doesn’t end up being painted into your wall.
Tip #6: Fill your paint tray and get to work
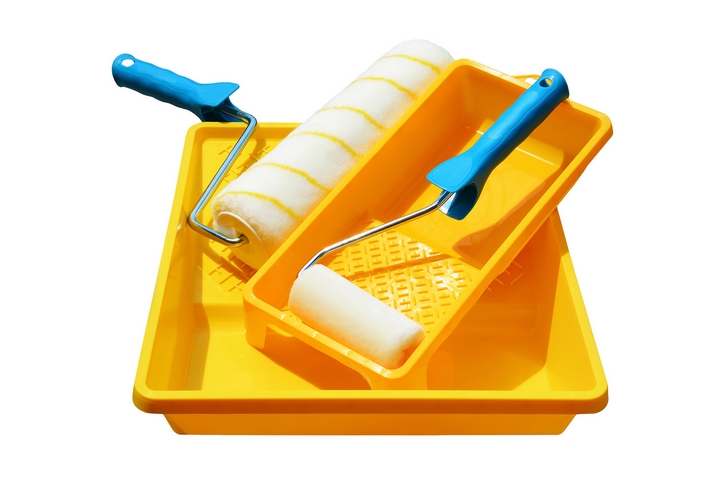
Now that you’re ready to get going, you can fill your roller tray carefully and get started. Err on the side of caution when pouring the paint though, remember you can always add more but that you don’t want to end up with an overflowing mess on your hands. Then dip the roller into the paint and begin working your way back and forth across the section you’ve prepared.
Tip #7: Move slowly with the roller
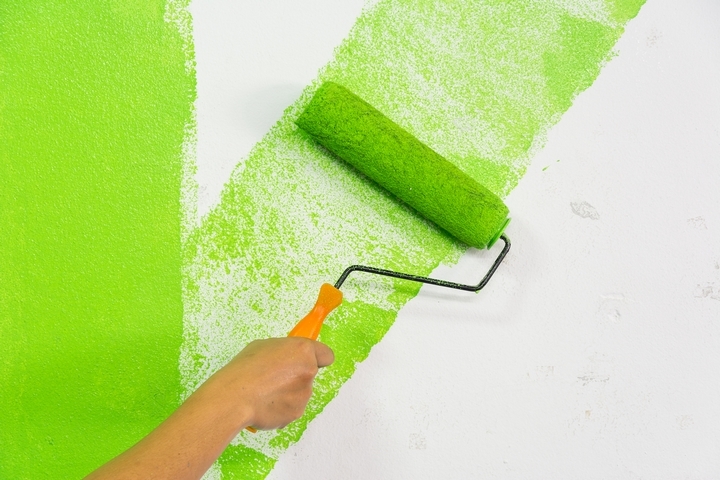
Continue applying light brush strokes in a crisscross pattern, focusing your attention on one section. Don’t move too quickly or try to apply too much paint at once. This could result is mist, drips, or just generally messy results.
Once you’ve finished a section, move on to next being mindful to paint towards the completed areas in overlapping strokes. This will give you a seamless finish once the paint has dried. Don’t rush, but keep a consistent pace so that all the painting you’ve done in a day has a chance to dry at the same time.


